")

共计 5762 个字符,预计需要花费 15 分钟才能阅读完成。
1. 环境准备
CentOS 6.4
关闭 selinux 和 iptables
两台虚拟机:一台 Server,一台 Agent
2. 安装官方 yum 源
所有服务器都要安装此 yum 源
rpm -ivh http://repo.zabbix.com/zabbix/2.4/rhel/6/x86_64/zabbix-release-2.4-1.el6.noarch.rpm
3. 部署 Zabbix Server
yum install zabbix-server-mysql zabbix-web-mysql zabbix-agent mysql-server mysql -y
/etc/init.d/mysqld start
mysql -e “create database zabbix character set utf8 collate utf8_bin;”
mysql -e “grant all privileges on zabbix.* to zabbix@localhost identified by ‘zabbix’;”
cd /usr/share/doc/zabbix-server-mysql-2.4.*/create/
mysql -uroot zabbix < schema.sql
mysql -uroot zabbix < images.sql
mysql -uroot zabbix < data.sql
sed -i ‘s/^.*DBPassword=.*$/DBPassword=zabbix/’ /etc/zabbix/zabbix_server.conf
service zabbix-server start
service zabbix-agent start
sed -i ‘s/^.*date.timezone =.*$/date.timezone = Asia\/Shanghai/g’ /etc/php.ini
sed -i ‘s/^.*post_max_size =.*$/post_max_size = 16M/g’ /etc/php.ini
sed -i ‘s/^.*max_execution_time =.*$/max_execution_time = 300/g’ /etc/php.ini
sed -i ‘s/^.*max_input_time =.*$/max_input_time = 300/g’ /etc/php.ini
service httpd restart
chkconfig mysqld on
chkconfig zabbix-server on
chkconfig zabbix-agent on
chkconfig httpd on
一些 Zabbix 相关教程集合 :
安装部署分布式监控系统 Zabbix 2.06 http://www.linuxidc.com/Linux/2013-07/86942.htm
《安装部署分布式监控系统 Zabbix 2.06》http://www.linuxidc.com/Linux/2013-07/86942.htm
CentOS 6.3 下 Zabbix 安装部署 http://www.linuxidc.com/Linux/2013-05/83786.htm
Zabbix 分布式监控系统实践 http://www.linuxidc.com/Linux/2013-06/85758.htm
CentOS 6.3 下 Zabbix 监控 apache server-status http://www.linuxidc.com/Linux/2013-05/84740.htm
CentOS 6.3 下 Zabbix 监控 MySQL 数据库参数 http://www.linuxidc.com/Linux/2013-05/84800.htm
64 位 CentOS 6.2 下安装 Zabbix 2.0.6 http://www.linuxidc.com/Linux/2014-11/109541.htm
打开浏览器访问 http://server_ip/zabbix/

直接点击 Next…

继续点击 Next…

点击 ’Test connection’ 后,继续 Next

继续 Next…

继续 Next…

点击 ’Finish’ 完成页面的配置.

通过默认的账号和密码进行登录
Admin/zabbix 注意 Admin 第一个字母大写
将页面改为中文的方法:

sed -i ‘/zh_CN/ s/false/true/’ /usr/share/zabbix/include/locales.inc.php
/etc/init.d/httpd restart

现在可以看到已经可以选择中文了,上图是已经生效之后的。
1. 环境准备
CentOS 6.4
关闭 selinux 和 iptables
两台虚拟机:一台 Server,一台 Agent
2. 安装官方 yum 源
所有服务器都要安装此 yum 源
rpm -ivh http://repo.zabbix.com/zabbix/2.4/rhel/6/x86_64/zabbix-release-2.4-1.el6.noarch.rpm
3. 部署 Zabbix Server
yum install zabbix-server-mysql zabbix-web-mysql zabbix-agent mysql-server mysql -y
/etc/init.d/mysqld start
mysql -e “create database zabbix character set utf8 collate utf8_bin;”
mysql -e “grant all privileges on zabbix.* to zabbix@localhost identified by ‘zabbix’;”
cd /usr/share/doc/zabbix-server-mysql-2.4.*/create/
mysql -uroot zabbix < schema.sql
mysql -uroot zabbix < images.sql
mysql -uroot zabbix < data.sql
sed -i ‘s/^.*DBPassword=.*$/DBPassword=zabbix/’ /etc/zabbix/zabbix_server.conf
service zabbix-server start
service zabbix-agent start
sed -i ‘s/^.*date.timezone =.*$/date.timezone = Asia\/Shanghai/g’ /etc/php.ini
sed -i ‘s/^.*post_max_size =.*$/post_max_size = 16M/g’ /etc/php.ini
sed -i ‘s/^.*max_execution_time =.*$/max_execution_time = 300/g’ /etc/php.ini
sed -i ‘s/^.*max_input_time =.*$/max_input_time = 300/g’ /etc/php.ini
service httpd restart
chkconfig mysqld on
chkconfig zabbix-server on
chkconfig zabbix-agent on
chkconfig httpd on
一些 Zabbix 相关教程集合 :
安装部署分布式监控系统 Zabbix 2.06 http://www.linuxidc.com/Linux/2013-07/86942.htm
《安装部署分布式监控系统 Zabbix 2.06》http://www.linuxidc.com/Linux/2013-07/86942.htm
CentOS 6.3 下 Zabbix 安装部署 http://www.linuxidc.com/Linux/2013-05/83786.htm
Zabbix 分布式监控系统实践 http://www.linuxidc.com/Linux/2013-06/85758.htm
CentOS 6.3 下 Zabbix 监控 apache server-status http://www.linuxidc.com/Linux/2013-05/84740.htm
CentOS 6.3 下 Zabbix 监控 MySQL 数据库参数 http://www.linuxidc.com/Linux/2013-05/84800.htm
64 位 CentOS 6.2 下安装 Zabbix 2.0.6 http://www.linuxidc.com/Linux/2014-11/109541.htm
打开浏览器访问 http://server_ip/zabbix/
直接点击 Next…
继续点击 Next…
点击 ’Test connection’ 后,继续 Next
继续 Next…
启用 Zabbix Server 自身监控:

按照上图的继续点击,将默认的 Zabbix Server 自身的监控启用.
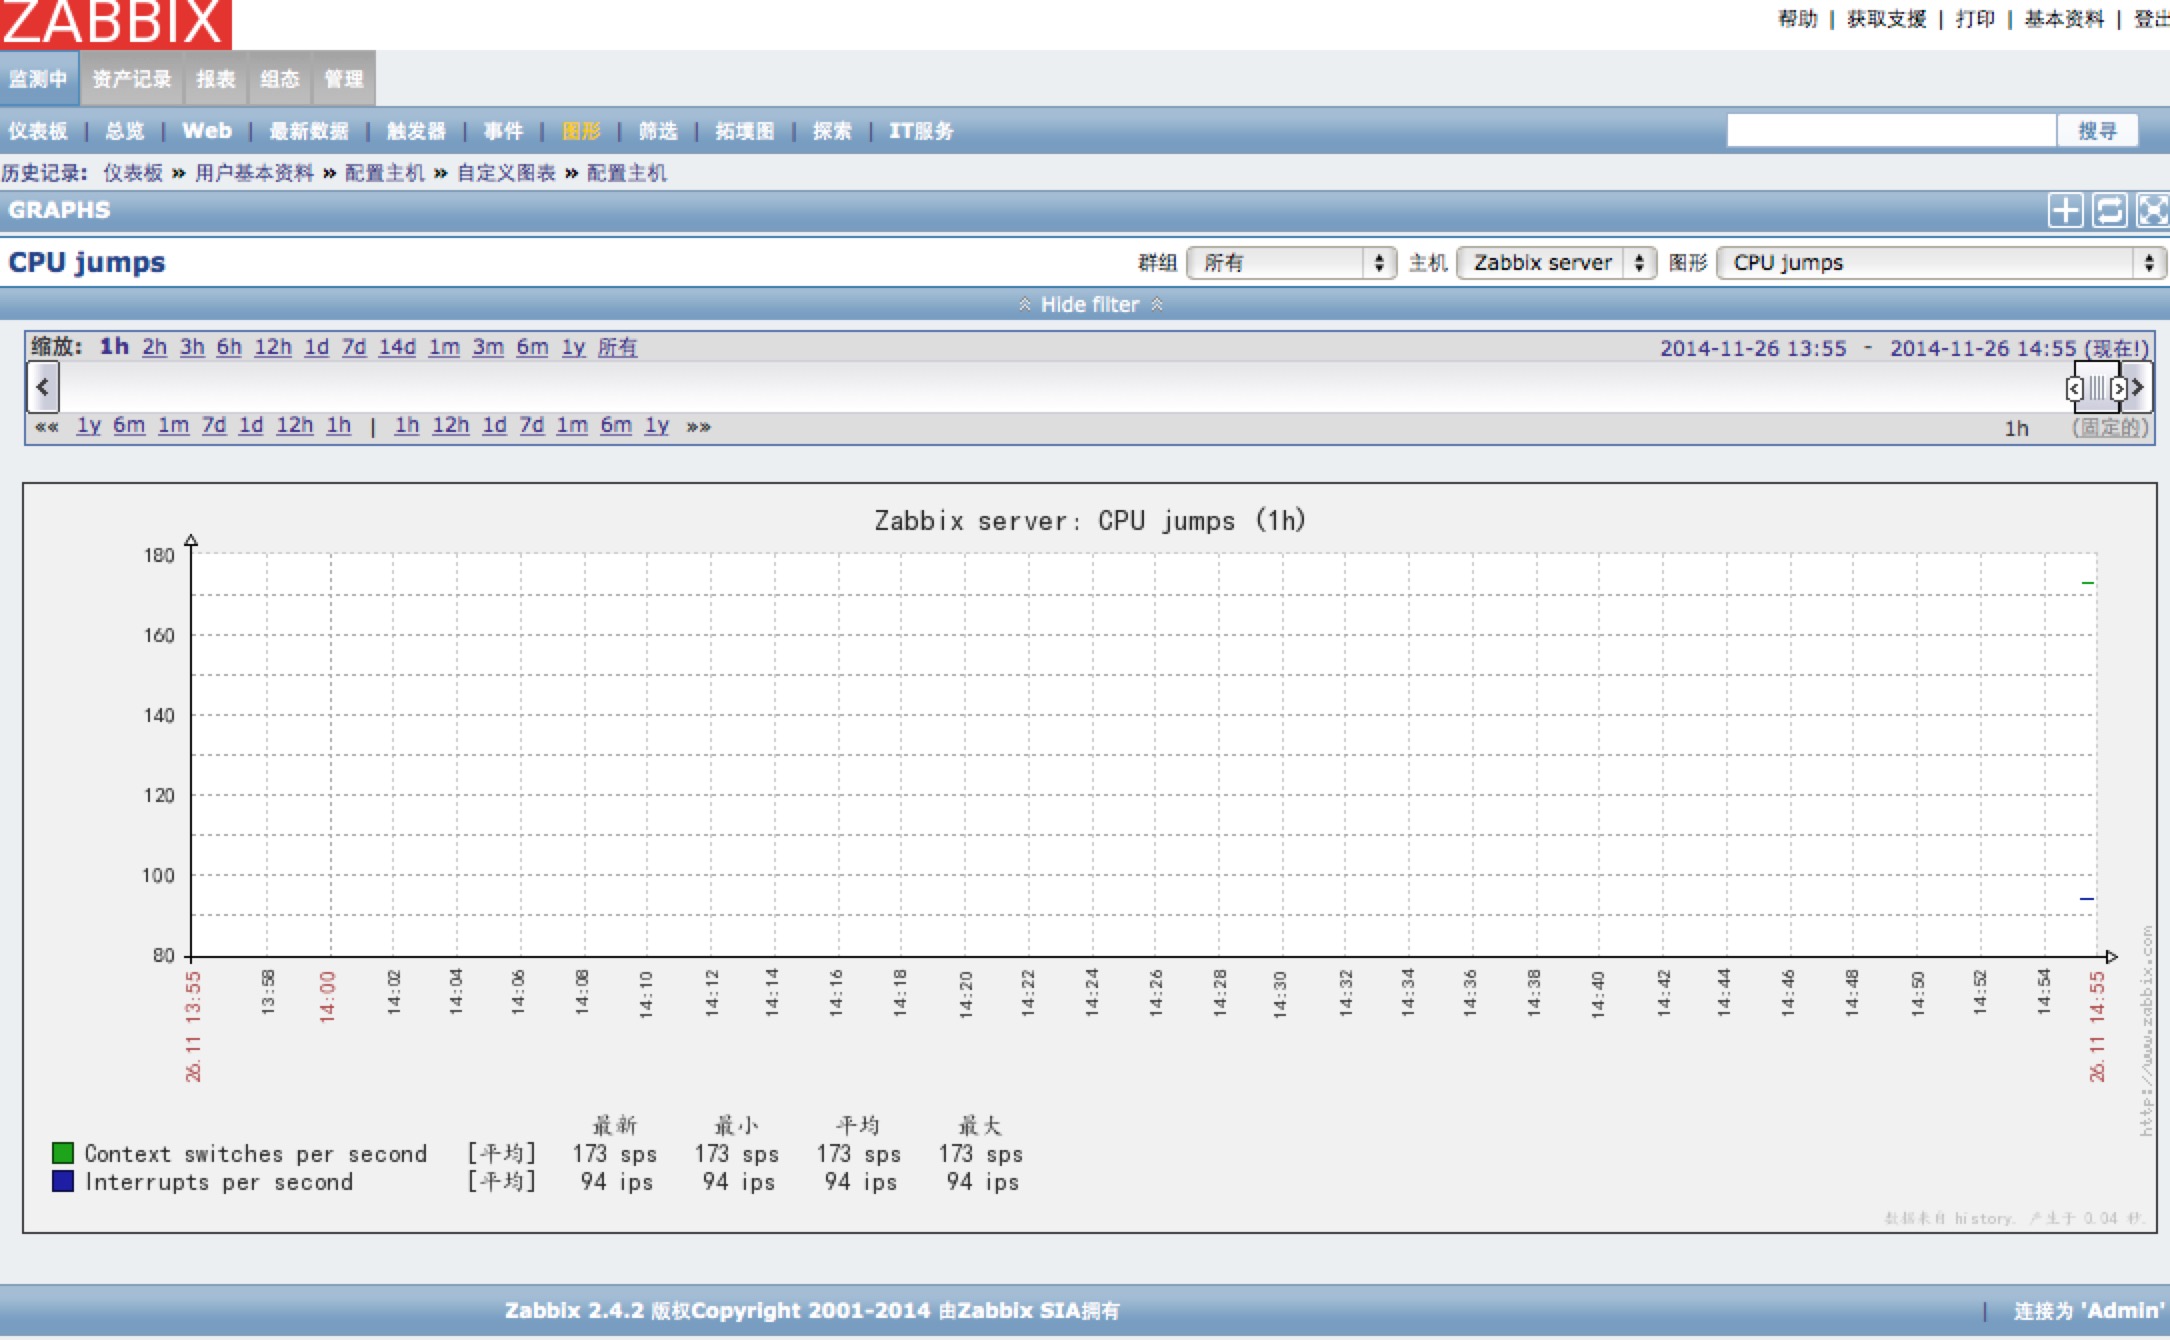
图片不能显示中文:

语言切换到中文后,选择任意的图形,不能显示中文..
cd /usr/share/zabbix/fonts
mv graphfont.ttf graphfont.ttf.bak
wget -SO graphfont.ttf http://v.dbsa.cn/zabbix/DejaVuSans.ttf
# 不替换 graphfont.ttf 的方法
# 下载会字体文件 .ttf
#vi /usr/share/zabbix/include/defines.inc.php
#(‘ZBX_GRAPH_FONT_NAME’, ‘graphfont’); #将 graphfont 替换为下载的文件名即可
#(‘ZBX_FONT_NAME’, ‘graphfont’); #将 graphfont 替换为下载的文件名即可
关注日志
tail -f /var/log/zabbix/zabbix_server.log
1943:20141126:142146.893 server #23 started [history syncer #4]
1942:20141126:142146.893 server #22 started [history syncer #3]
1947:20141126:142146.900 server #25 started [proxy poller #1]
1946:20141126:142146.900 server #24 started [escalator #1]
1950:20141126:142146.906 server #26 started [self-monitoring #1]
1935:20141126:142147.096 server #19 started [discoverer #1]
1922:20141126:144903.783 cannot send list of active checks to [127.0.0.1]: host [Zabbix server] not monitored
其中有一个 ’cannot send list of active checks to ‘ 这种类型不算错误,后续更新 Zabbix Agent(active) 会描述这个情况.
4. 部署 Zabbix Agent
yum install zabbix-agent zabbix-sender zabbix-get -y
[root@localhost ~]# grep -vE ‘(^$|^\#)’ /etc/zabbix/zabbix_agentd.conf
PidFile=/var/run/zabbix/zabbix_agentd.pid
LogFile=/var/log/zabbix/zabbix_agentd.log
LogFileSize=0
Server=172.16.43.40 #修改为 Server 的 IP,支持多个 IP,逗号分隔,使用域名的话,需要支持反向解析
ServerActive=172.16.43.40 #修改为 Server 的 IP,不支持写多个 IP
HostnameItem=system.hostname #默认是用 Hostname 需要手动指定主机名,改为 HostnameItem 使用内部 key 的自动获取方式
Include=/etc/zabbix/zabbix_agentd.d/
/etc/init.d/zabbix-agent start
chkconfig zabbix-agent on
关注日志
tail -n50 -f /var/log/zabbix/zabbix_agentd.log
1526:20141126:150356.024 Starting Zabbix Agent [localhost.localdomain]. Zabbix 2.4.2 (revision 50419).
1526:20141126:150356.024 using configuration file: /etc/zabbix/zabbix_agentd.conf
1526:20141126:150356.025 agent #0 started [main process]
1530:20141126:150356.026 agent #4 started [listener #3]
1529:20141126:150356.026 agent #3 started [listener #2]
1531:20141126:150356.026 agent #5 started [active checks #1]
1528:20141126:150356.027 agent #2 started [listener #1]
1527:20141126:150356.027 agent #1 started [collector]
1531:20141126:150356.062 no active checks on server [172.16.43.40:10051]: host [localhost.localdomain] not found
同样,’no active checks on server’ 也不是一个错误,后续更新的 blog 会进行描述.
5. 在 Server 添加一个主机使用 Agent 方式进行监控


ZABBIX 的详细介绍 :请点这里
ZABBIX 的下载地址 :请点这里
更多 CentOS 相关信息见 CentOS 专题页面 http://www.linuxidc.com/topicnews.aspx?tid=14